Introduction

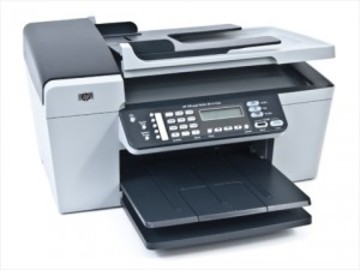
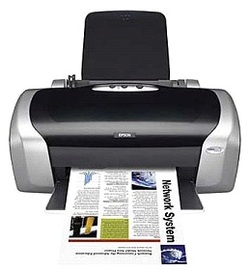
A printer copier scanner all-in-one serves several different functions in one unit. With the technology of today, it is possible to print, scan and copy right from your home. Instead of having seperate products that do all of these separately, it saves room and is much more efficient to have a printer copier scanner all-in-one. Not only are they easy to use, but you should have no problems setting it up to work with your home or office computer.
Step 1
First, you will need to go out and purchase a printer copier scanner all-in-one device. This can be bought at a local computer or electronics retailer, such as Best Buy or Staples. You can also purchase one online from many different sellers, like Newegg and CompUSA. Popular brands that specialize in printer copier scanner all-in-ones are Canon, Kodak, HP, Epson, Dell and more. Each one may have additional functions that set them apart from others. Some have touch screen and some are smallers than others. Choose and purchase one that serves all of the functions that you'd like, along with being able to print, scan, and copy material.
Step 2
Take your printer copier scanner home with you and begin to hook it up. You will want to plug the power cord into an outlet and attach it to the correct slot in the printer copier scanner unit. There should also be another plug that will attach from the unit to the computer.
Step 3
If you have a wireless printer copier scanner all in one, there will not be any wires that will need to attach to the computer, and it can be used from any area in your home, as long as there is wi-fi access. Connect the printer copier scanner to your wireless network through the LCD screen that should be located on the front of the device. Your computer should then pick up the signal from the printer on your network and download any needed drivers.
Step 4
Insert the installation CD that came with your printer copier scanner into the computer. This should automatically boot up the installation process. Follow the steps to install the device properly. By using the CD, you should not have to download any drivers from the internet or configure any settings, as the installation should do all of this automatically for you. The installation may take several minutes to complete, so be sure not to exit anything until it is complete. Make sure that the printer is connected to the computer if and when your installation prompts you to connect it. If you do not have the installation CD that came with the printer copier scanner, simply connect it to the computer to see if your computer automatically downloads drivers. If not, you may need to visit the manufacturer's website to download drivers and needed software.
Step 5
Test out your printer copier scanner with a test page. When printing a document, ensure that your printer is selected as the default device from the drop down menu. You can now test the copying, scanning, and faxing if that is a feature of the device. You're now set up and ready to begin using it.
Tips

Read your product's instruction manual if there are any difficulties or errors during your set up process.
Comments
Most Recent Articles
-
How To Install a Color Inkjet Printer
Whether you will be using it at home or in the office, you may need to install a color inkjet printer so that you can print important documents. A color inkjet printer is the most common typ...