Introduction

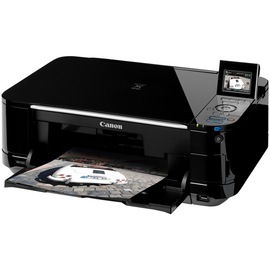
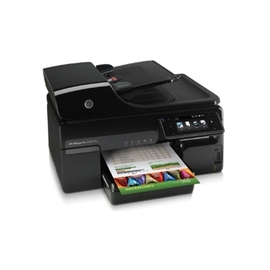
Whether you will be using it at home or in the office, you may need to install a color inkjet printer so that you can print important documents. A color inkjet printer is the most common type of printer and creates your printed documents by using ink that moves across the paper. These printers range in price, depending on the type that you are looking for. A simple color inkjet printer that simply has the print function, may be very affordable, while an all-in-one printer with additional features will cost more. Installing your printer can be done very easily when following this guide.
Step 1
Purchase your color inkjet printer from any electronics or office supplies retailer. Popular brands of printers include HP, Canon, and Kodak. You will need to decide whether you just want a regular inkjet printer, or if you'd like one that has other features on it as well, such as fax, scanning, and copying functions. Be sure to purchase a color inkjet printer that is compatible with your verison of Windows or Mac. If it is not compatible, you will not be able to correctly install the printer and it may not work.
Step 2
Connect the color inkjet printer to your computer. There should be one cord the will connect from the printer itself into a USB slot on the back of your computer. There should also be another cord that will connect from the printer to an electric outlet, giving the printer power to turn on and function. Make sure that you plug both these wires into the correct spots and that they are securely connected.
Step 3
Find the CD that came with your new color inkjet printer. Insert this CD into the disk drive on your computer. The installation manager should automatically start up once the CD is inserted. Follow the on screen directions for installing the color inkjet printer. When the process asks you to plug in the printer if you have not already done so, make sure to connect the wires properly. Give the installation process time to complete and do not exit out while it is installing. This will install the needed drivers and updates to your computer so that the printer is recognized and works.
Step 4
After the installation for your color inkjet printer completes, you may need to restart your computer. Once this is all done, click the power button on the printer to turn it on. Your computer should now recognize the printer. If the installation fails, try once more. If it still does not seem to be working, the color inkjet printer may not be compatible with your computer version.
Step 5
Print out a test page on the color inkjet printer to ensure that everything is working properly. Print a word document and then a picture to see the quality of the different types of documents that you can print from your new printer.
Tips

Purchase a color inkjet printer that you know you will use for a long time. If you are thinking about an all-in-one printer, it may be worth the extra expense to buy it now so that you do not have any regrets.
Sources and Citations
none
Comments
Most Recent Articles
-
the Best Model Of Color Inkjet Printer
At any time because everyone has noticed the benefits of mechanical printing, using printers continue to be significantly taken. These devices permit individuals to avoid wasting time, power...
-
How To Set Up a Printer Copier And Scanner
A printer copier scanner all-in-one serves several different functions in one unit. With the technology of today, it is possible to print, scan and copy right from your home. Instead of havi...