Introduction

You just bought a laser canon printer and now you need to add your printer into the system to start printing quality documents and pictures for your work. The steps for installing your printer are just the same as installing any other hardware or more specifically any other printer. Here are the few things that you’re going to need, the canon printer drivers, the laser canon printer itself and all the wiring to connect your laser printer to your computer. Don’t worry almost all of these things would be given to you with your purchase of the printer, separately or inside the box. If not, you can download the drivers and purchase the wiring separately.
Step 1
First, you need to install the drivers. Remember that you don’t have to connect your printer to the computer right now. If you do then windows will start searching for compatible drivers on default and that is just not what you want because you have the real deal. Normally the drivers of the laser canon printer are given in a CD that is given to you at time of purchase. You’ll probably find it in the box. Place the CD in the CD tray and let it run on Auto-run. If it doesn’t then go to my computers and double click the CD icon to start the setup.
Step 2
If your Printer didn’t come with a CD or you borrowed the laser canon printer from somewhere then you can simply download the drivers online. Just go to cannon’s support site like usa.canon.com or Google driver for “your printer model” and download the driver files.
Step 3
Once you’ve started the installation process, they are going to prompt you for the system you want to install the laser canon printer in, windows xp ,7 , vista or maybe MAC. Choose your operating system and click next in the install wizard. Agree to the terms and condition and click next and keep doing it after you fill in all info the wizard prompts you to give. You’ll end up in the window asking you to connect the printer.
Step 4
Remember up till now your laser canon printer was not connected to the computer. Once the install wizard prompts you to connect the printer to the computer, use any of the connections available to you. Canon printers are usually connected through USB or Ethernet cables.
Step 5
Once the wizard has finished installing the laser canon printer drivers you will get an option of “finish”, Click it and your printer is ready to print.
Tips

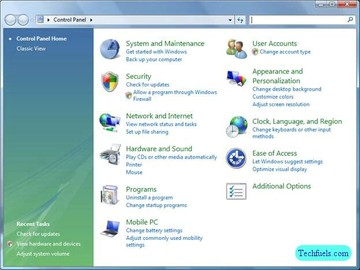
To avoid constant direction to the computer to use the laser canon printer only for printing, go to the start menu and go to the printers and faxes option. If you don’t have that option in your start menu you’ll have it in your control panel window in the printers and hardware option. Over here you’ll have the name of your laser canon printer. Right click on the icon and choose “set as default”. Now every time you print a document the computer will automatically use the laser canon printer to do it.
Sources and Citations
techtips.salon.com › Computer Hardware › Printers